GREEN SCREEN REMOVER / EXPORT HELP
Why does a green screen remover erase green clothes?
A color key can remove green clothing along with a green backdrop because both contain the selected color. Lowering tolerance may help nearby shades, but cannot reliably separate identical colors by their meaning. Change the clothing or screen before filming; for an existing clip, use an editor with subject masks or manual restoration. PeelMyVideo has no manual clothing-restoration brush.
On this page
The key sees color, not the intended role
The backdrop and shirt can be different objects while recording similar color values. A color-based key is not a promise that every foreground object will be understood and protected. Enlarging the removed range can therefore remove more of the subject. Start with the actual source frame, not a flattened export with holes already baked in.
Green spill is a different problem: it is reflected screen color on an otherwise useful subject edge. A missing patch of green fabric is not automatically spill. Inspect the matte to tell a transparent hole from a visible green tint before changing controls.
Our original same-color control
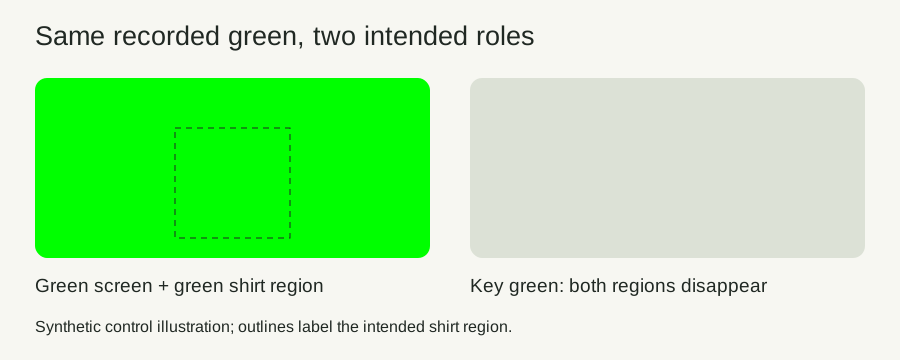
We built a 64 by 48 pixel RGBA image with a 16 by 24 central rectangle designated as the shirt. That is 384 shirt pixels and 2,688 backdrop pixels. On the green-screen version, every pixel in both regions is exactly RGB 0,255,0 and fully opaque before processing. The rectangle is a semantic label in our test, not information available to the keyer.
We ran the current PeelMyVideo pixel-keying function directly against that buffer. With the key set to #00ff00, softness zero and spill cleanup zero, tolerance values 0, 10, 28 and 60 all removed every shirt pixel and every screen pixel. Lowering tolerance did not restore the identically colored shirt in this control.
Change one variable: use a blue backdrop
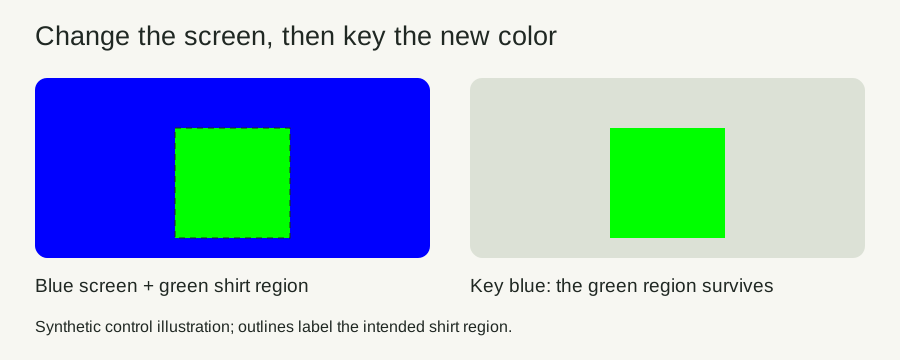
In the second control, we kept the same green rectangle and changed only the backdrop to RGB 0,0,255. We also changed the selected key to #0000ff. At the same four tolerance values, all 384 shirt pixels survived and all 2,688 backdrop pixels were removed. This demonstrates separation in this specific synthetic input; it is not a measured success rate for real clothes, lighting or compressed video.
| Control | Tolerance values tested | Shirt pixels surviving | Backdrop pixels surviving |
|---|---|---|---|
| Green on green; key green | 0, 10, 28, 60 | 0 / 384 each | 0 / 2688 each |
| Green on blue; key blue | 0, 10, 28, 60 | 384 / 384 each | 0 / 2688 each |
Reproduction uses scripts/check-clothing-key.cjs in our source project. It reads the actual keying function rather than a replacement formula. It tests pixel processing in Node, not browser decoding, file export, temporal stability or another editor. No camera, hair or human-subject quality claim follows from these flat blocks.
A three-pass wardrobe check before recording
Use this original worksheet before recording the full take. First, list everything that must survive: jacket, shirt, logo, jewelry and props. Place those actual items in the capture setup. Record a few seconds of turning, leaning and reaching, because folds and reflections change the recorded colors.
Second, sample a clear part of the screen and inspect the matte at a conservative tolerance. Write two observations separately: whether the background clears, and whether required subject areas stay solid. Do not mark the setup successful just because the wall disappears. A clean backdrop with a missing shirt is a failed capture for that task.
Third, change one thing and repeat the same movement: switch wardrobe or screen color, rather than changing five sliders together. Save a still and the tested settings for each version. Compare the shirt, logo and surrounding edge on a contrasting background. This worksheet is a capture decision aid, not an automated subject-protection feature.
If you only have the existing clip
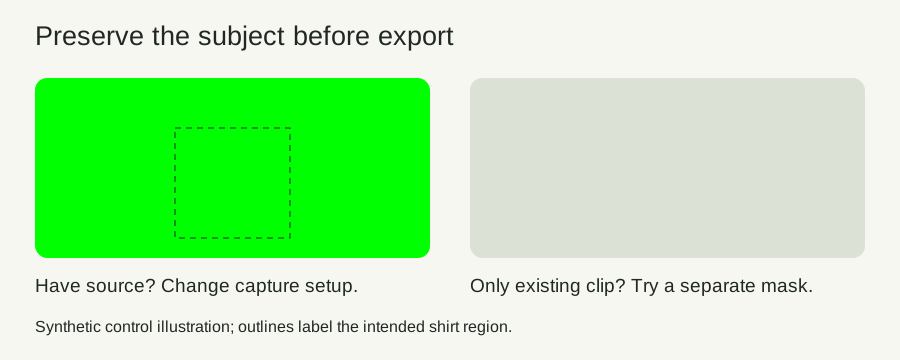
Return to the original footage if possible. Try a narrower tolerance only when the shirt and screen actually differ in recorded color. If preserving the shirt leaves the backdrop behind, record that trade-off instead of continuing to raise softness until both look faint.
When the colors overlap too closely, use a separate subject mask, rotoscoping or a restoration workflow in an editor that provides those features. A mask must preserve the shirt while the key removes the surrounding screen. PeelMyVideo currently does not supply a manual restore brush or tracked subject mask; repeatedly uploading the same source does not add those capabilities.
If reshooting is available, choose a backdrop distinct from all required foreground items and test it with the real lights. Switching to blue is not universally correct: blue clothing can create the same conflict. Changing the final replacement background after keying does not change the colors recorded in the source.
Quick answers before you export
Will spill cleanup rebuild a missing shirt?
No. It is not a clothing restoration tool. Check whether the fabric is still opaque before adjusting an edge tint.
Can softness protect green clothing?
Softness changes edge transitions; it does not identify the intended subject. Recheck both the screen and the shirt after any adjustment.
What if the shirt is intact but the export looks black?
That is a different diagnostic task. Follow our black-background and transparency checks before removing another color.
For the complete capture and export sequence, use the green screen removal workflow. Keep the original source so an export problem does not force you to work from a flattened result.
Sources and further reading
- Video Production community discussion — Original camera-format question from October 2020; December answer warns about foreground colors and clothing. Read November 6, 2026. This article title is our editorial question, not a quote from the thread.
- Sleek green screen tool — Public description of key-color, tolerance and softness controls, checked November 6, 2026. No claim that all competitors lack clothing guidance.